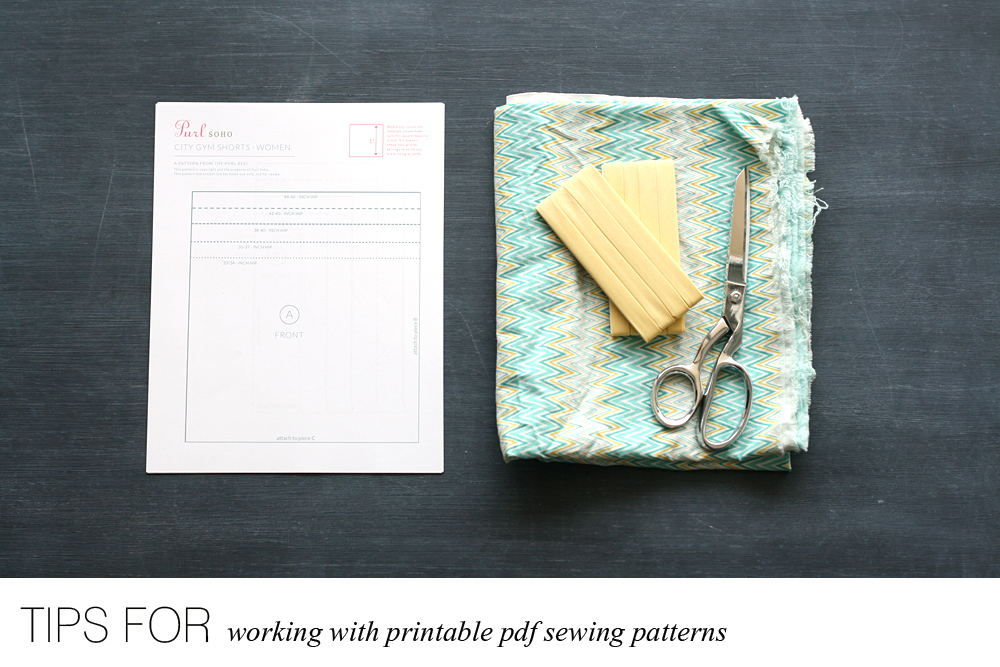
Last week I mentioned that I wanted to share some tips for working with printable pdf sewing patterns. Since I grew up sewing before the age of the internet (yikes!), most of my experience as a sewist was built around using “traditional” patterns that I bought at our local fabric store. When I first started seeing printable patterns online, I’ll admit – I was skeptical. How do you print something at home that needs to be so big?
So, today, I thought I’d share what I’ve learned about using printable pdf sewing patterns, so you can take that and feel more confident in trying all of the wonderful patterns available out there online! I’m using the lovely city gym shorts pattern I featured in this post from Purl Soho’s blog The Purl Bee.
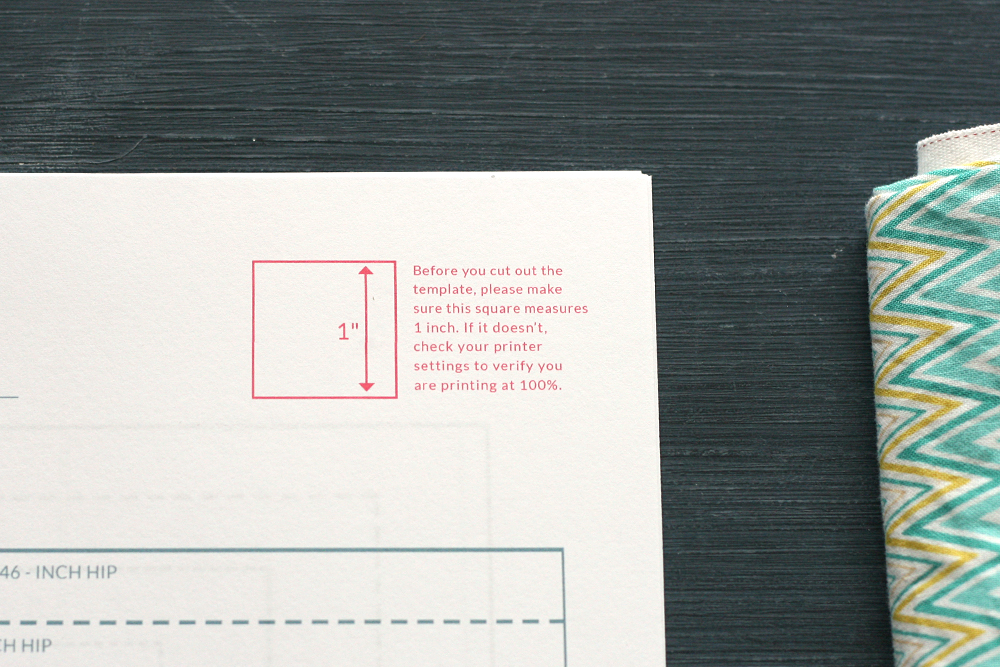
1.) When printing, make sure that you UNcheck “fit to page”. For some reason it can pop up as a default setting in Adobe. Fit to page will resize the pattern to fit whatever Adobe thinks it should be to print. Not cool. So, be sure to check all of the boxes when you’re printing. Most patterns will have a test box on the front page for your to measure, so make sure that it’s true to size.
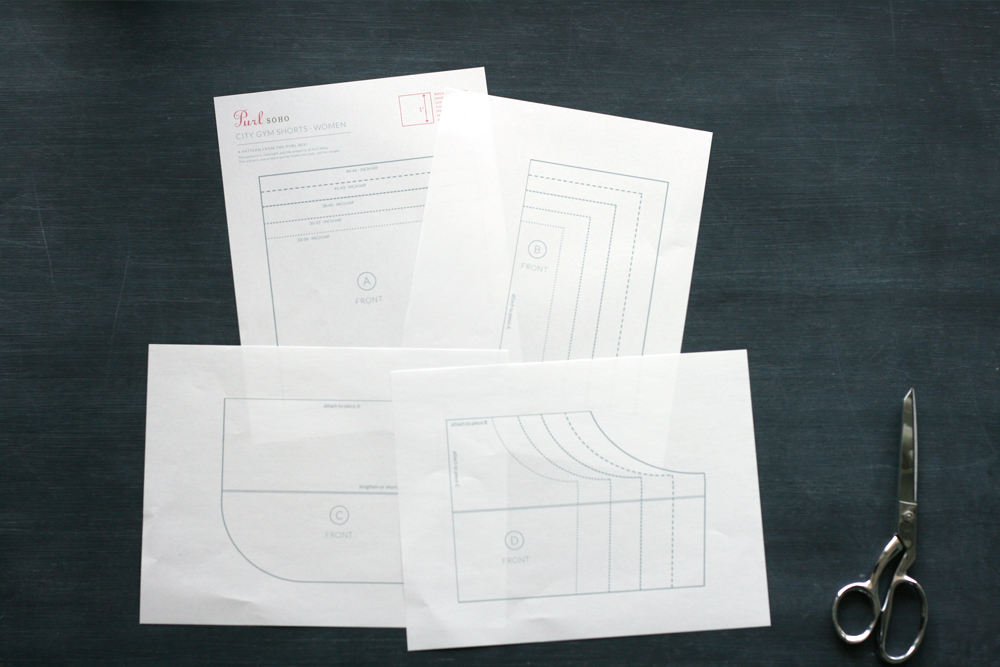
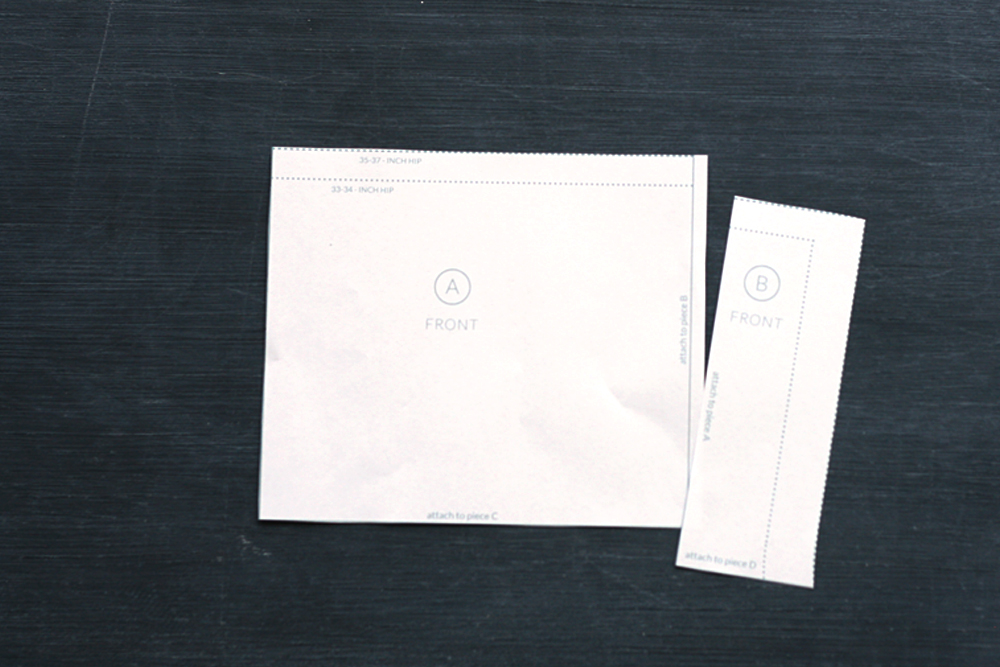
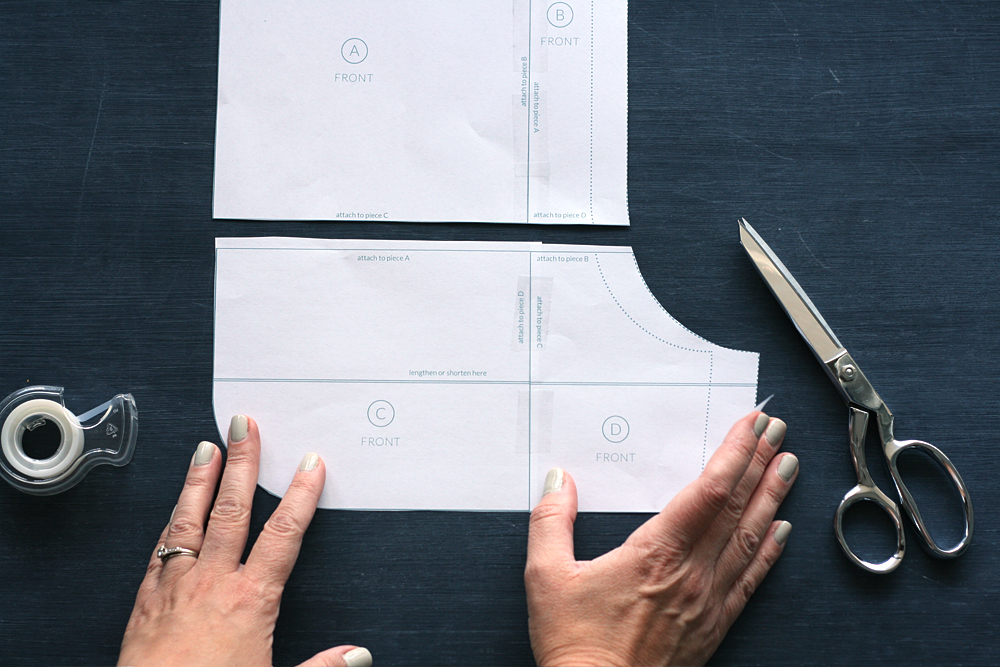
2.) Read through the directions to understand the pattern maker’s pieces. This pattern was super easy to understand – pieces A,B,C,D assemble together to make the front piece of the pattern. Different pattern makers label their pieces differently, so it’s important to know how the pieces go together.
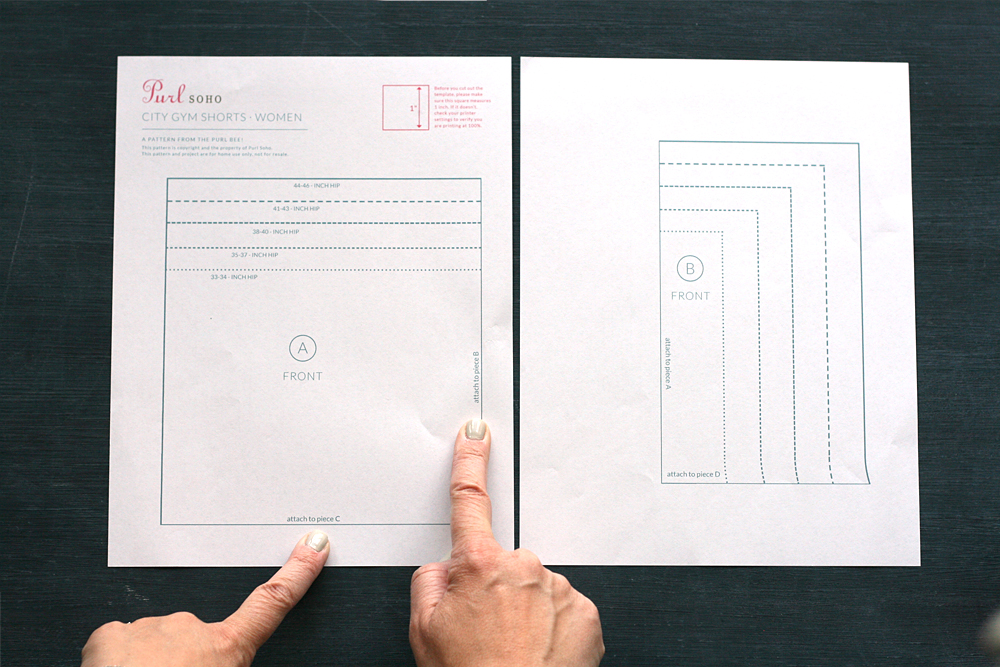
This photo shows the instruction along the edge “attach to piece B”, “attach to piece C”

3.) Leave extra space on the edge when you cut out the pattern. I’ve found that I can attach the pieces together SO much more accurately when I leave this little edge.
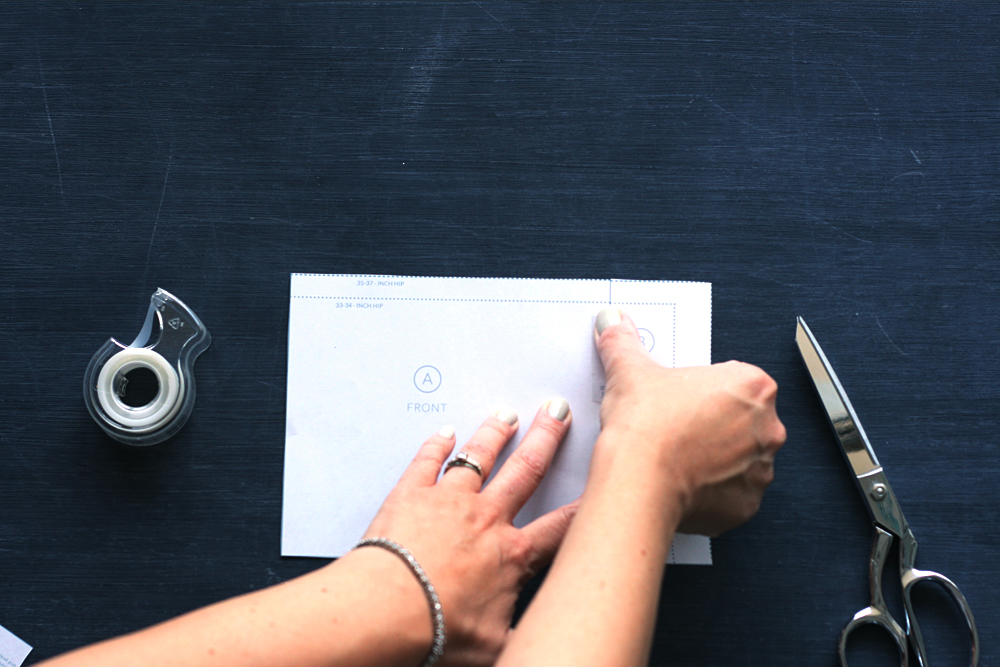
4.) Layer your pieces together and tape them using a clear tape that allows you to see that the pieces are perfectly aligned.
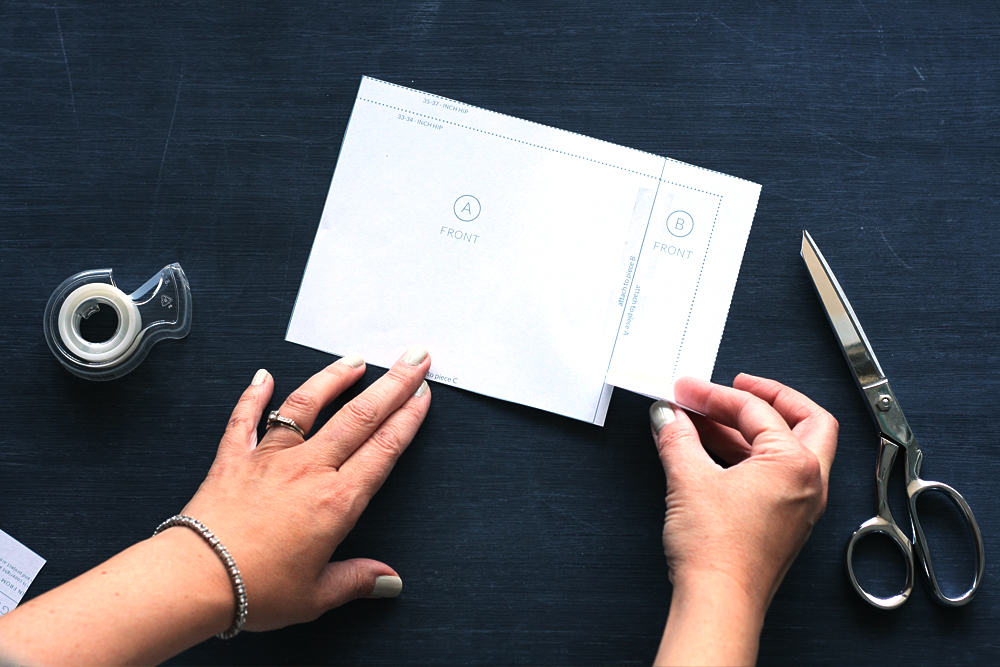
You can see in this photo that the extra edge left on the piece, made them easier to put together.
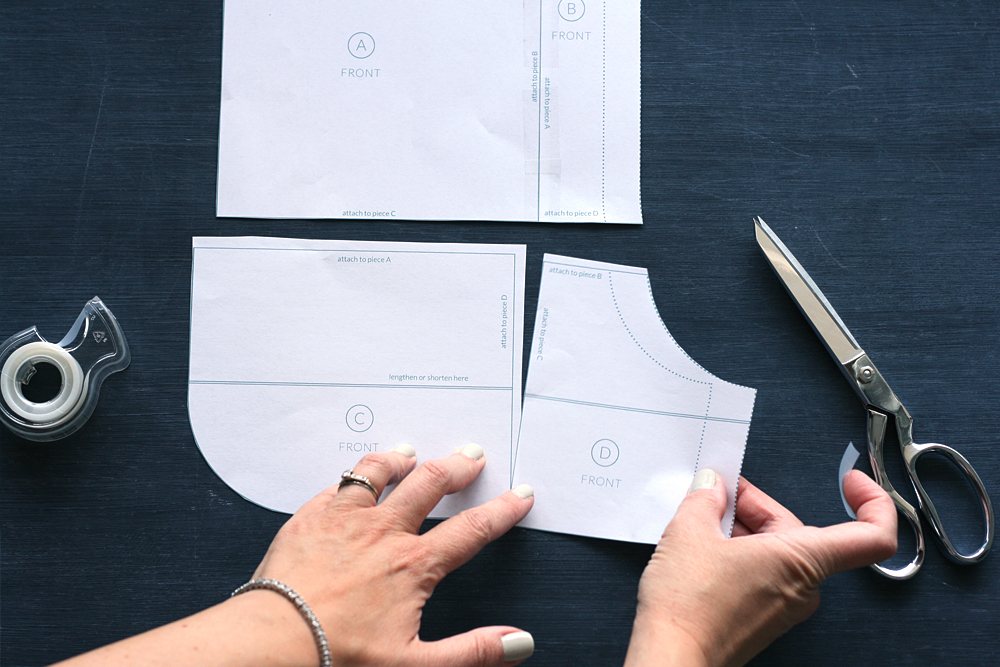
After I assembled the first two, I followed the same method for pieces C and D – again, leaving that extra edge makes it so much easier to assemble!
Now you can attach the bottom to finish the entire piece.

Once you’ve assembled all of the pieces of the pattern, you just need to follow the instructions from the pattern maker! I can’t wait to get another pair of these cute and comfy shorts together. Feel free to leave any questions in the comments of this post!
Leave a Reply