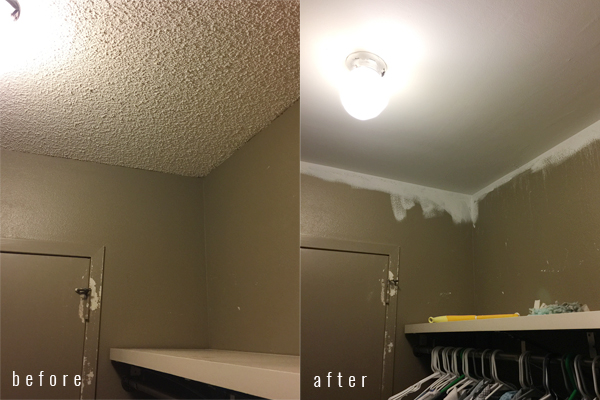
This past weekend we started tackling one of the bigger, messier projects that is currently on our list: popcorn ceiling removal. Blech. As I wrote in my previous post, we’re really not looking to just replace things as they are, but hopefully update, modernize, and optimize the space that we currently live in. And I kinda feel like that’s not even close to possible without starting with the removal of the popcorn ceiling. As you can see in the photo above (like you didn’t already know this), the smooth ceilings look so much more clean and modern.
 [here you can see the old shelving and an inexpensive unit that we bought for linen storage]
It was a pretty big job. But I have to admit, with a little research and preparation beforehand, it wasn’t as messy as I thought it would be. We were able to keep the dust involved to a minimum, which is probably the best you can ask for. Researching online and on pinterest, I thought this method would be the least messy. Popcorn ceiling removal on instructables.com
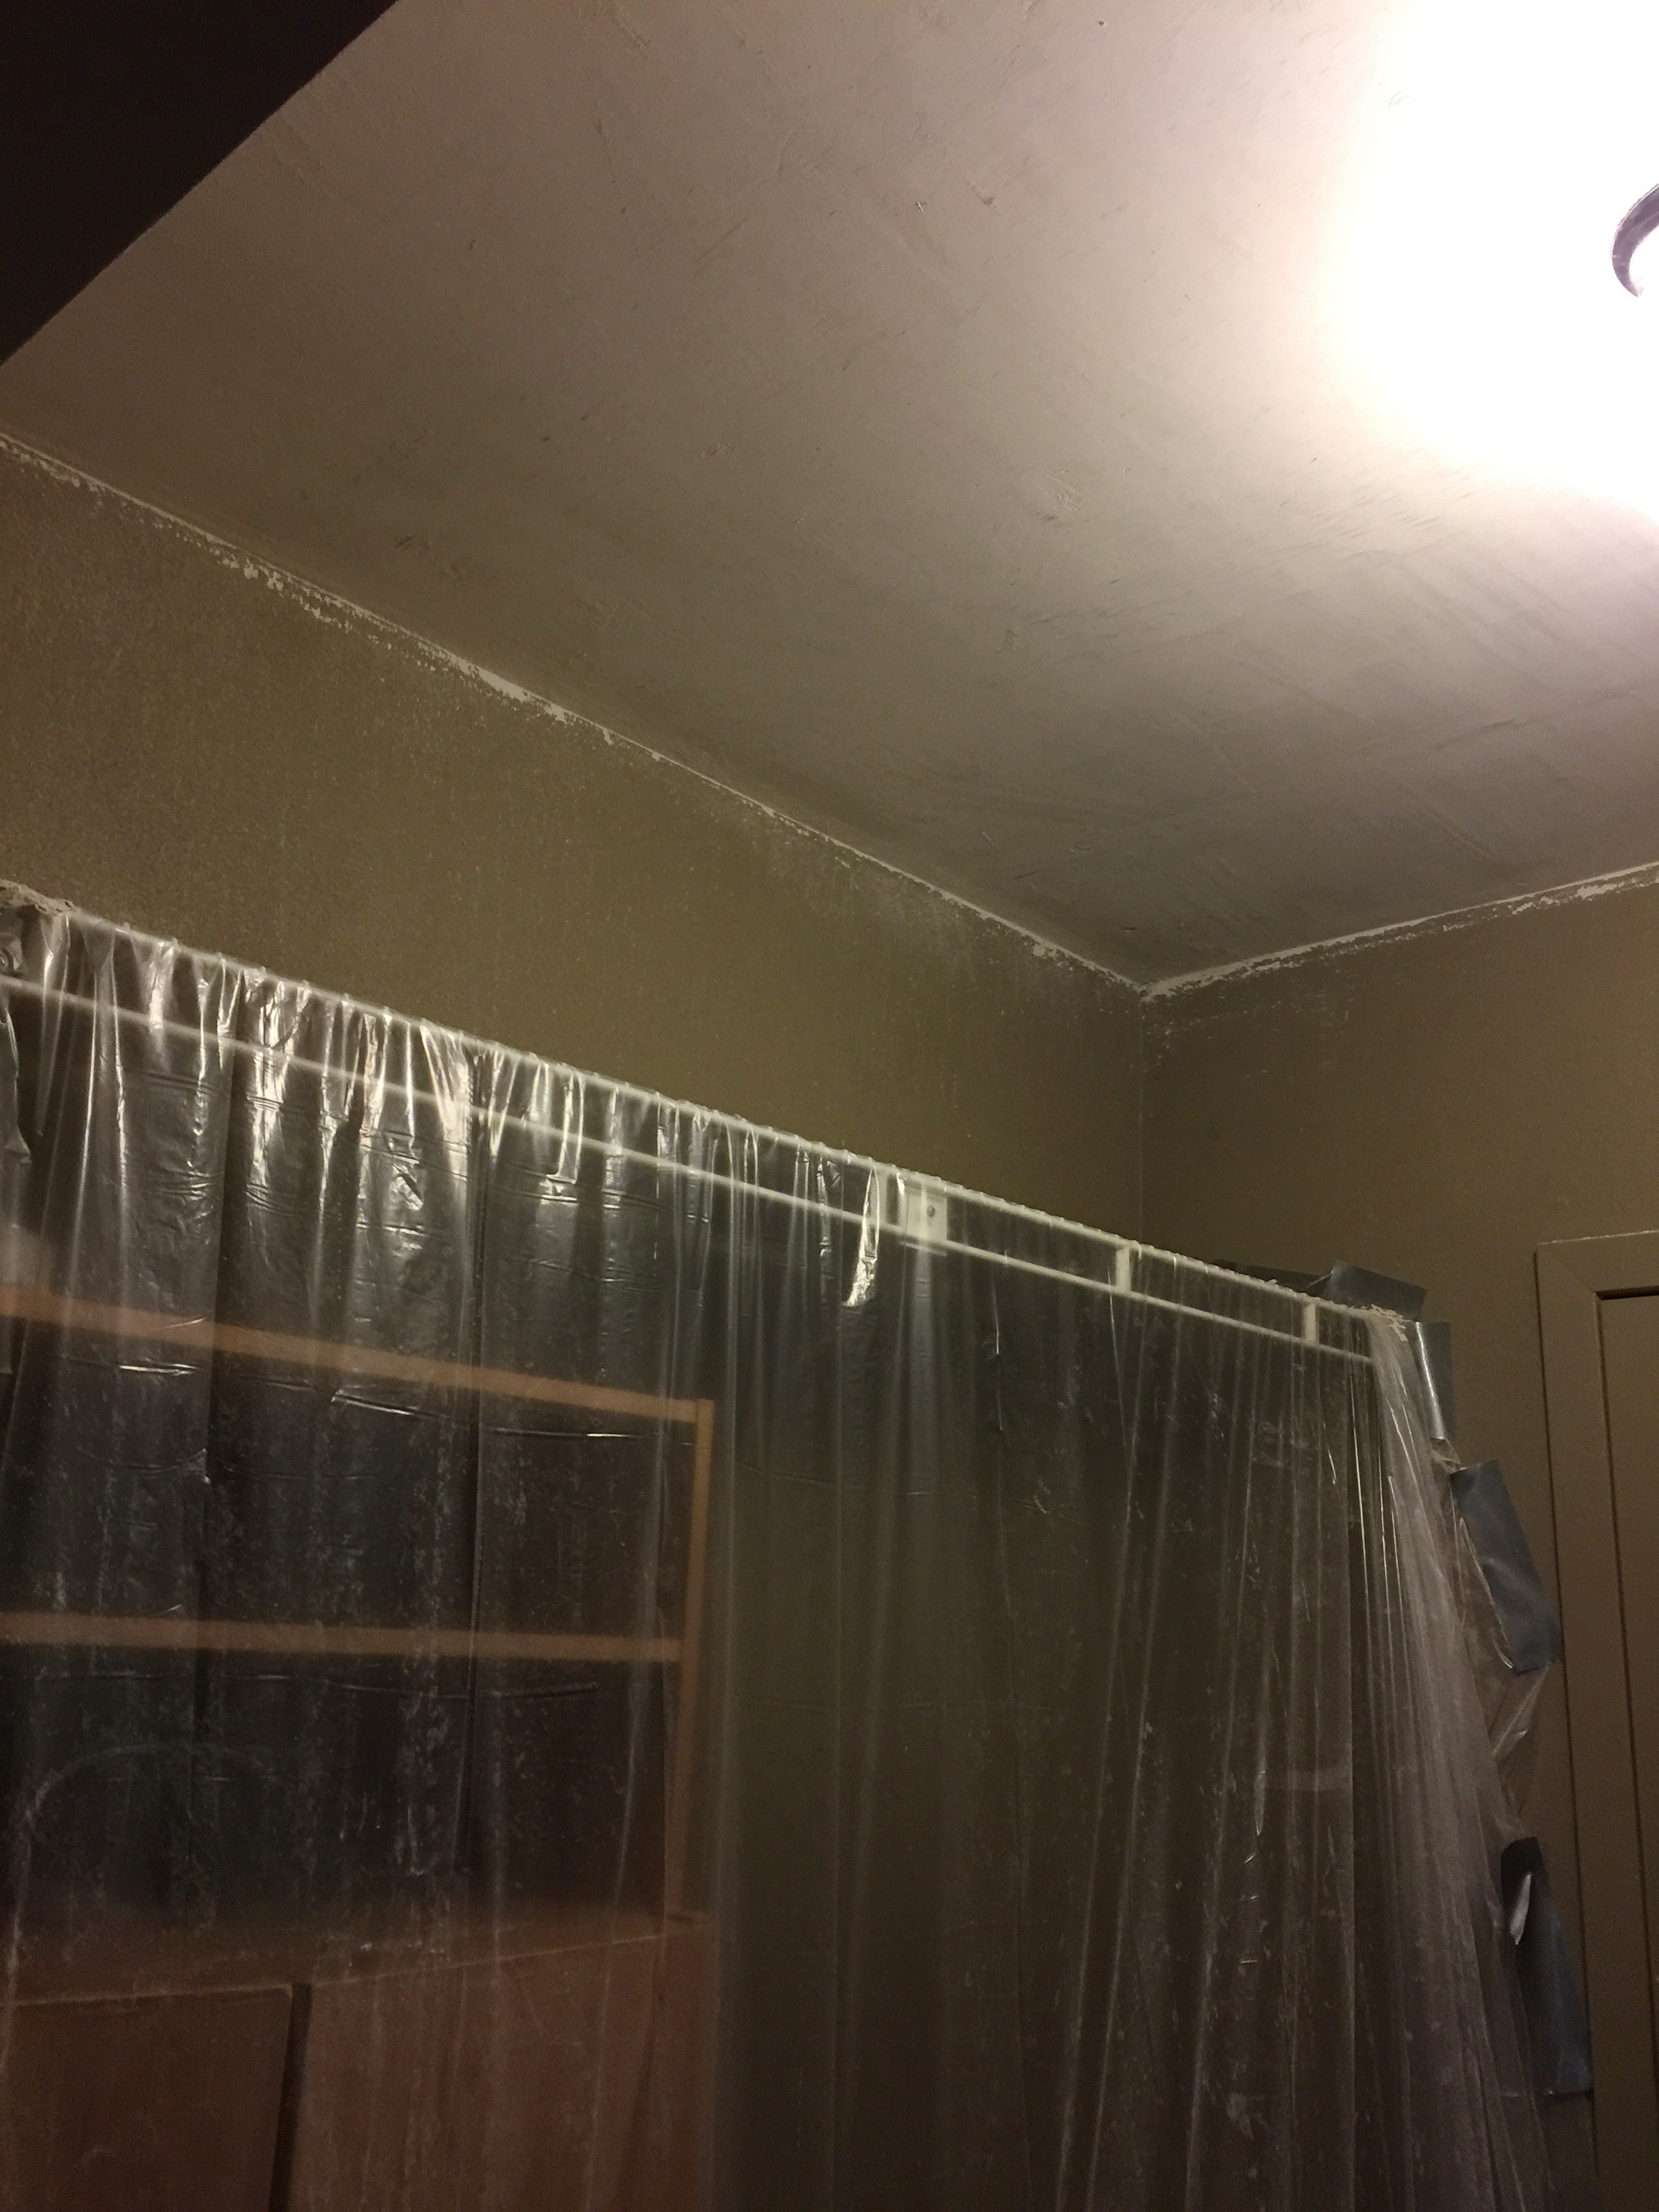
The money invested in cheap plastic dropcloths and duct tape was so worth it. And we figured we’d go crazy with the on the first round, decide how much we really needed to cover, and cut back in the future if it made sense. It doesn’t. That’s the biggest thing that keeps the loads of plaster from going everywhere. That, and another key ingredient: water. I would NEVER do this without water. After soaking the plaster, it scraped off in chunks more like cottage cheese, which kept the dust levels lower. The only other thing I might change up on the next section is to possibly try mud instead of spackle.
The total cost of supplies: $99.89
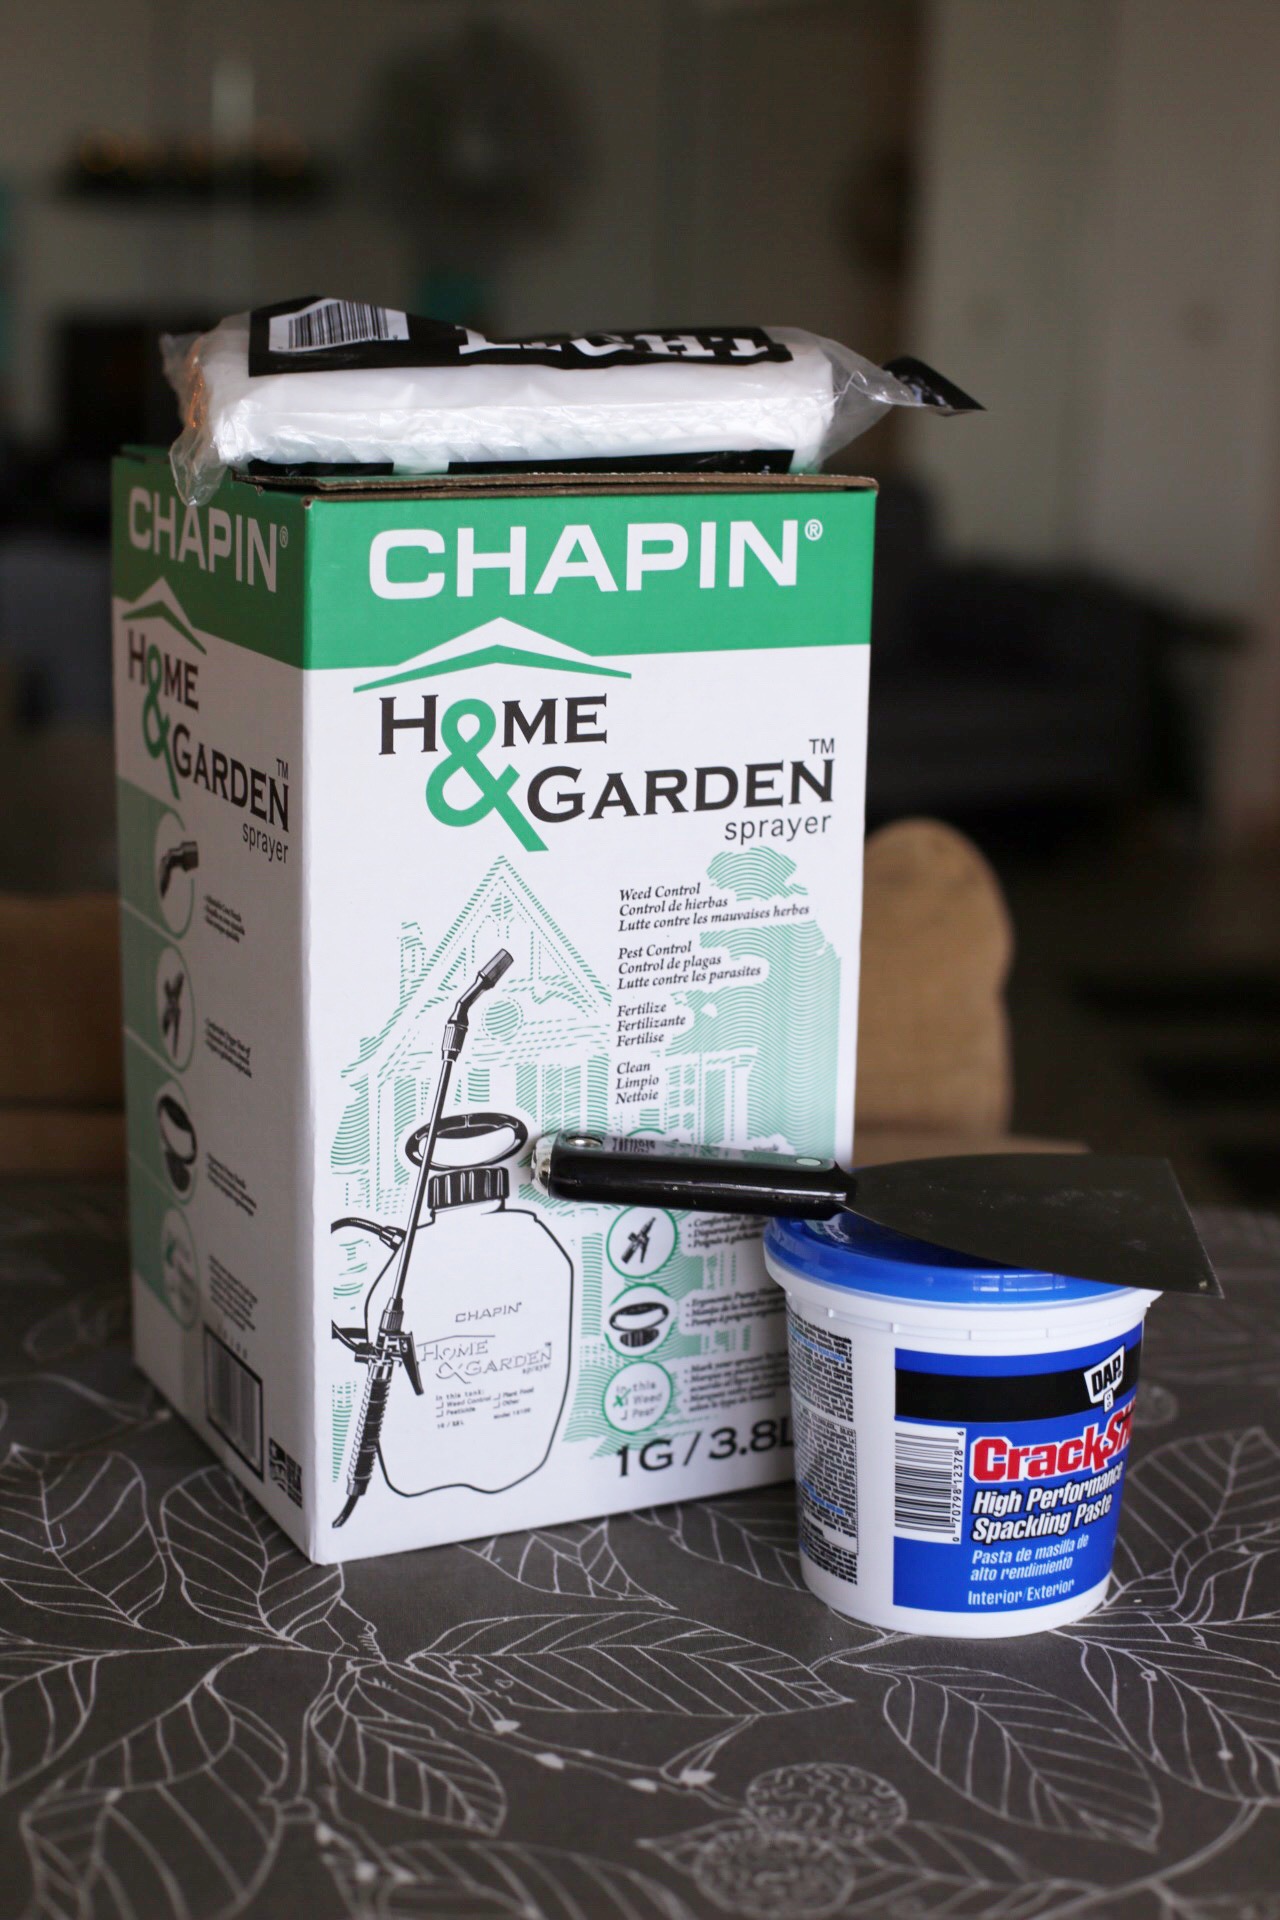
water sprayer: $13.99
drop cloths (3 pack x2): $9.98
scrapers (x2): $13.98
duct tape: $4.99
spackle: $6.99
valspar ceiling paint: $24.99
sanding tool: $6.99
sanding sheets: $6.99
paint rollers (3 pack): $10.99
Now that we have the tools, we should be good for a while on those, we may just need to restock on things like spackle, paint, rollers, and sanding sheets.
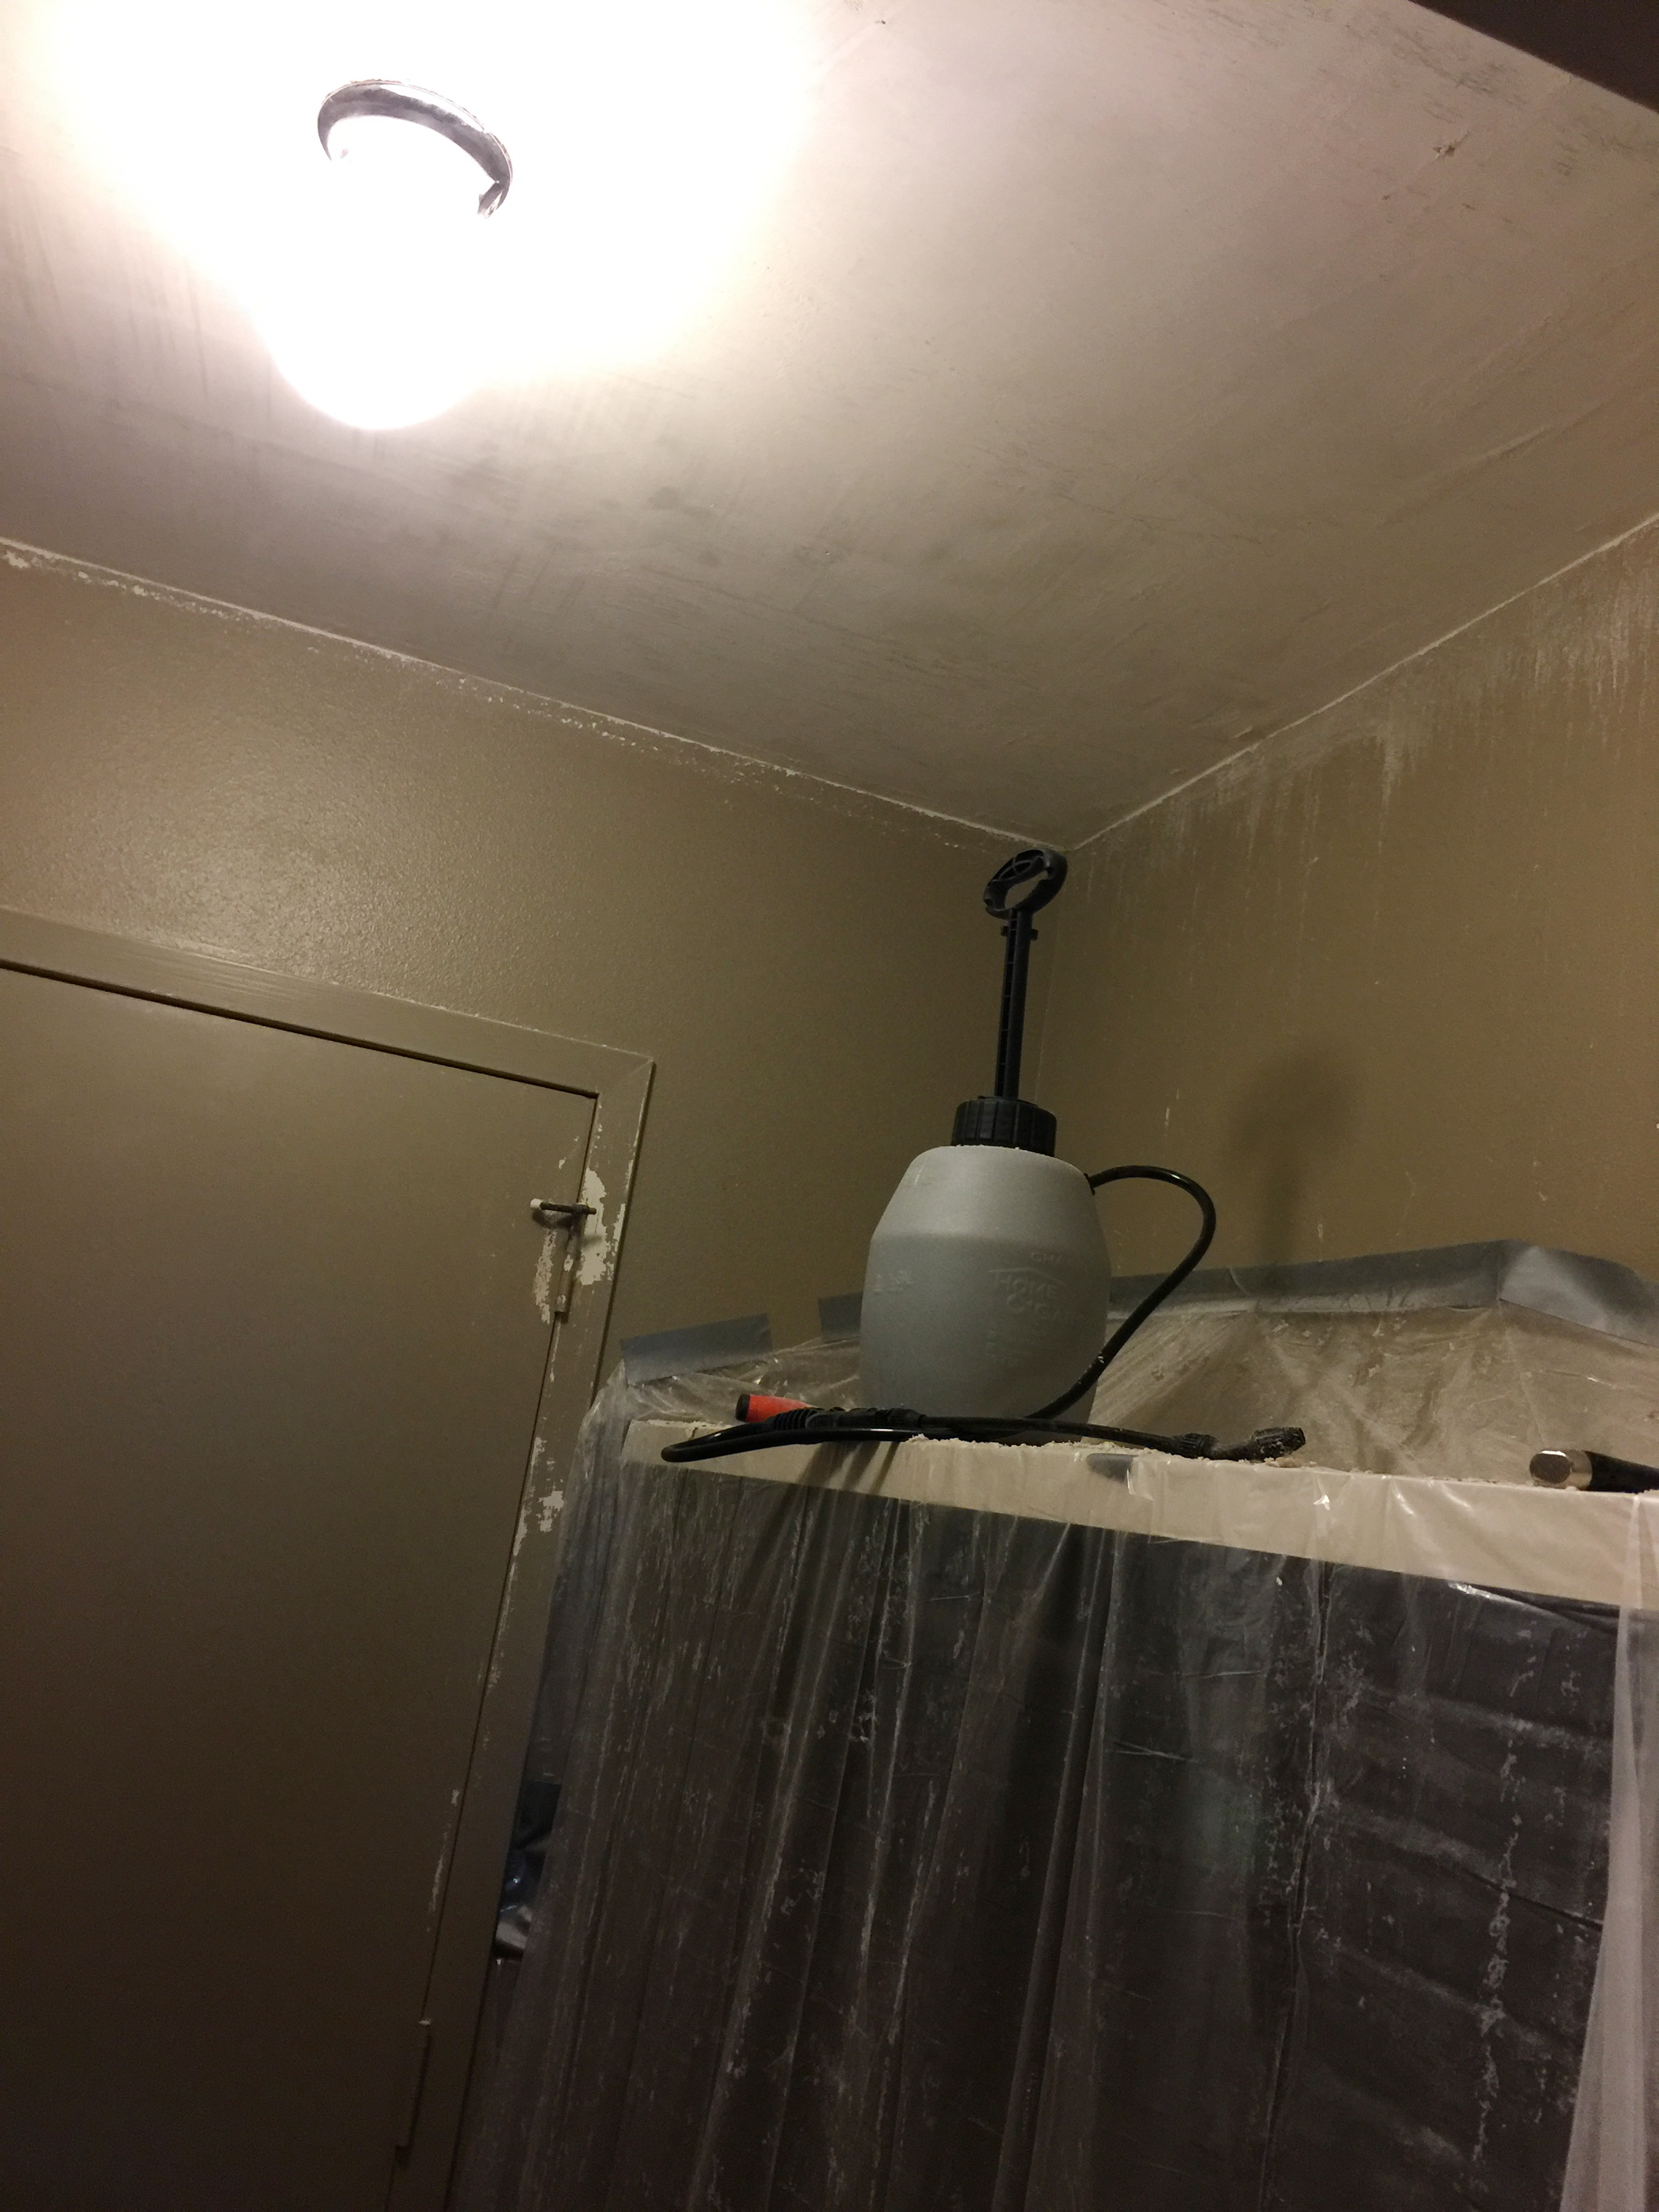
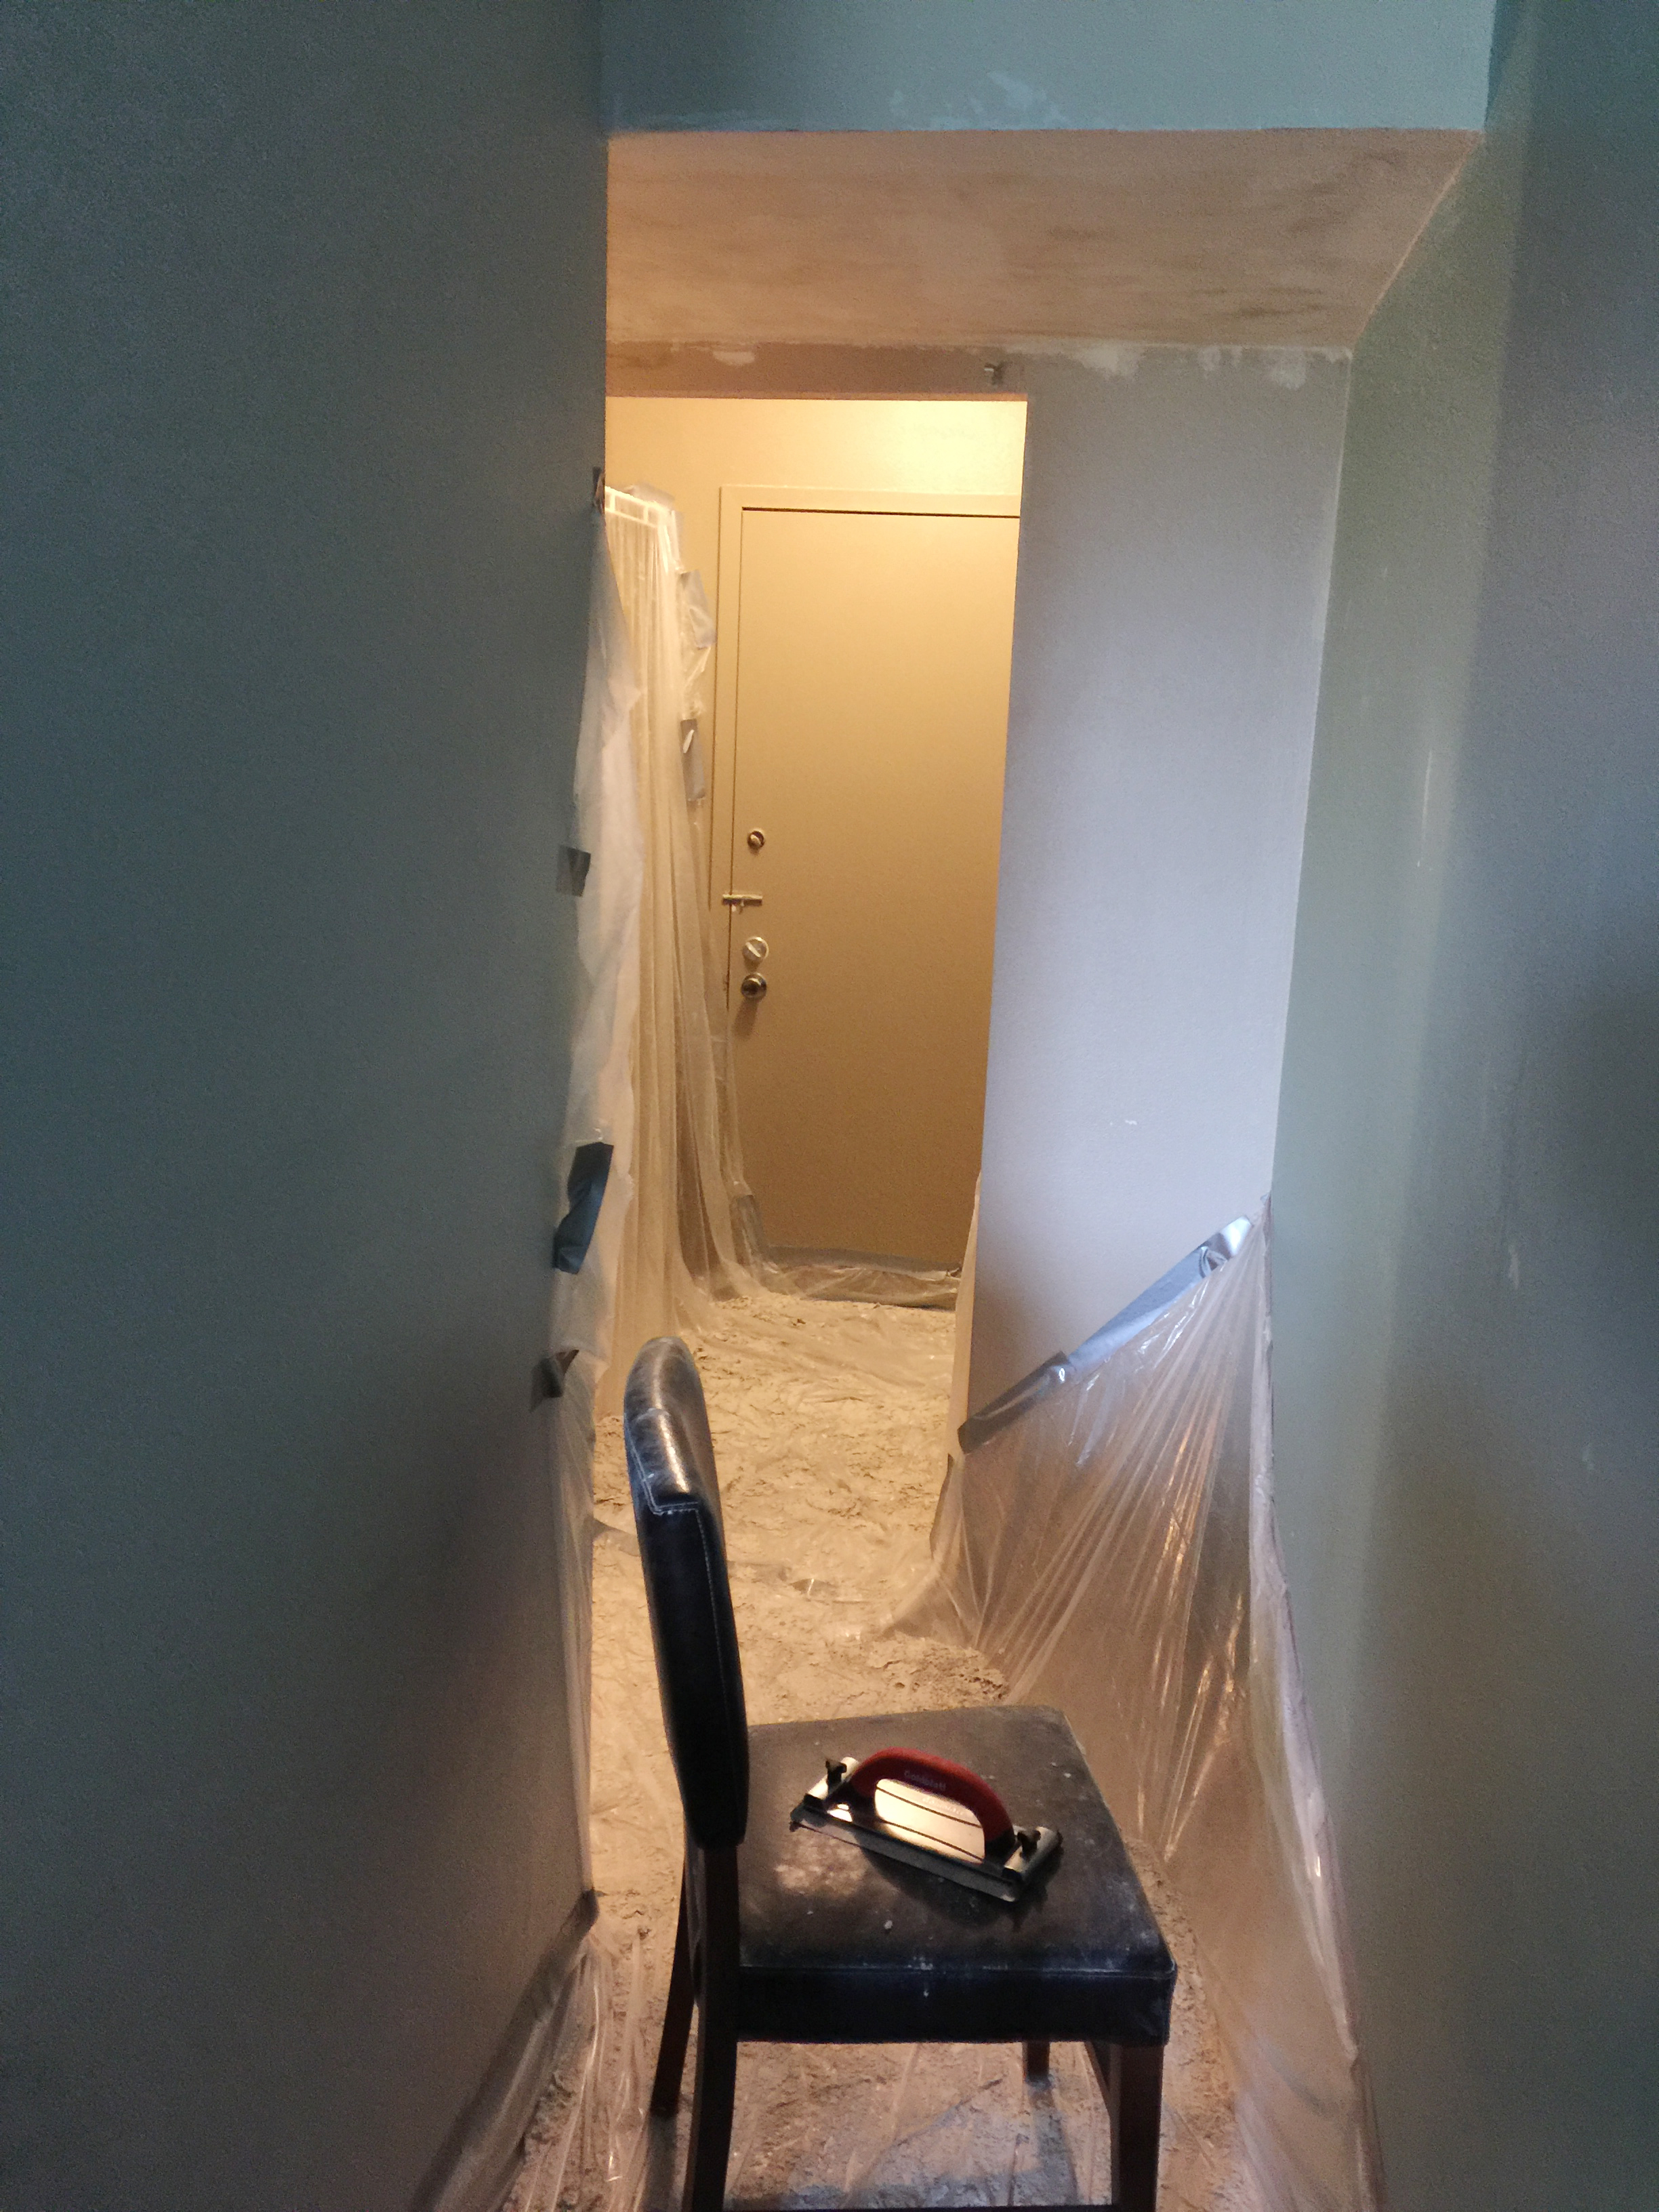
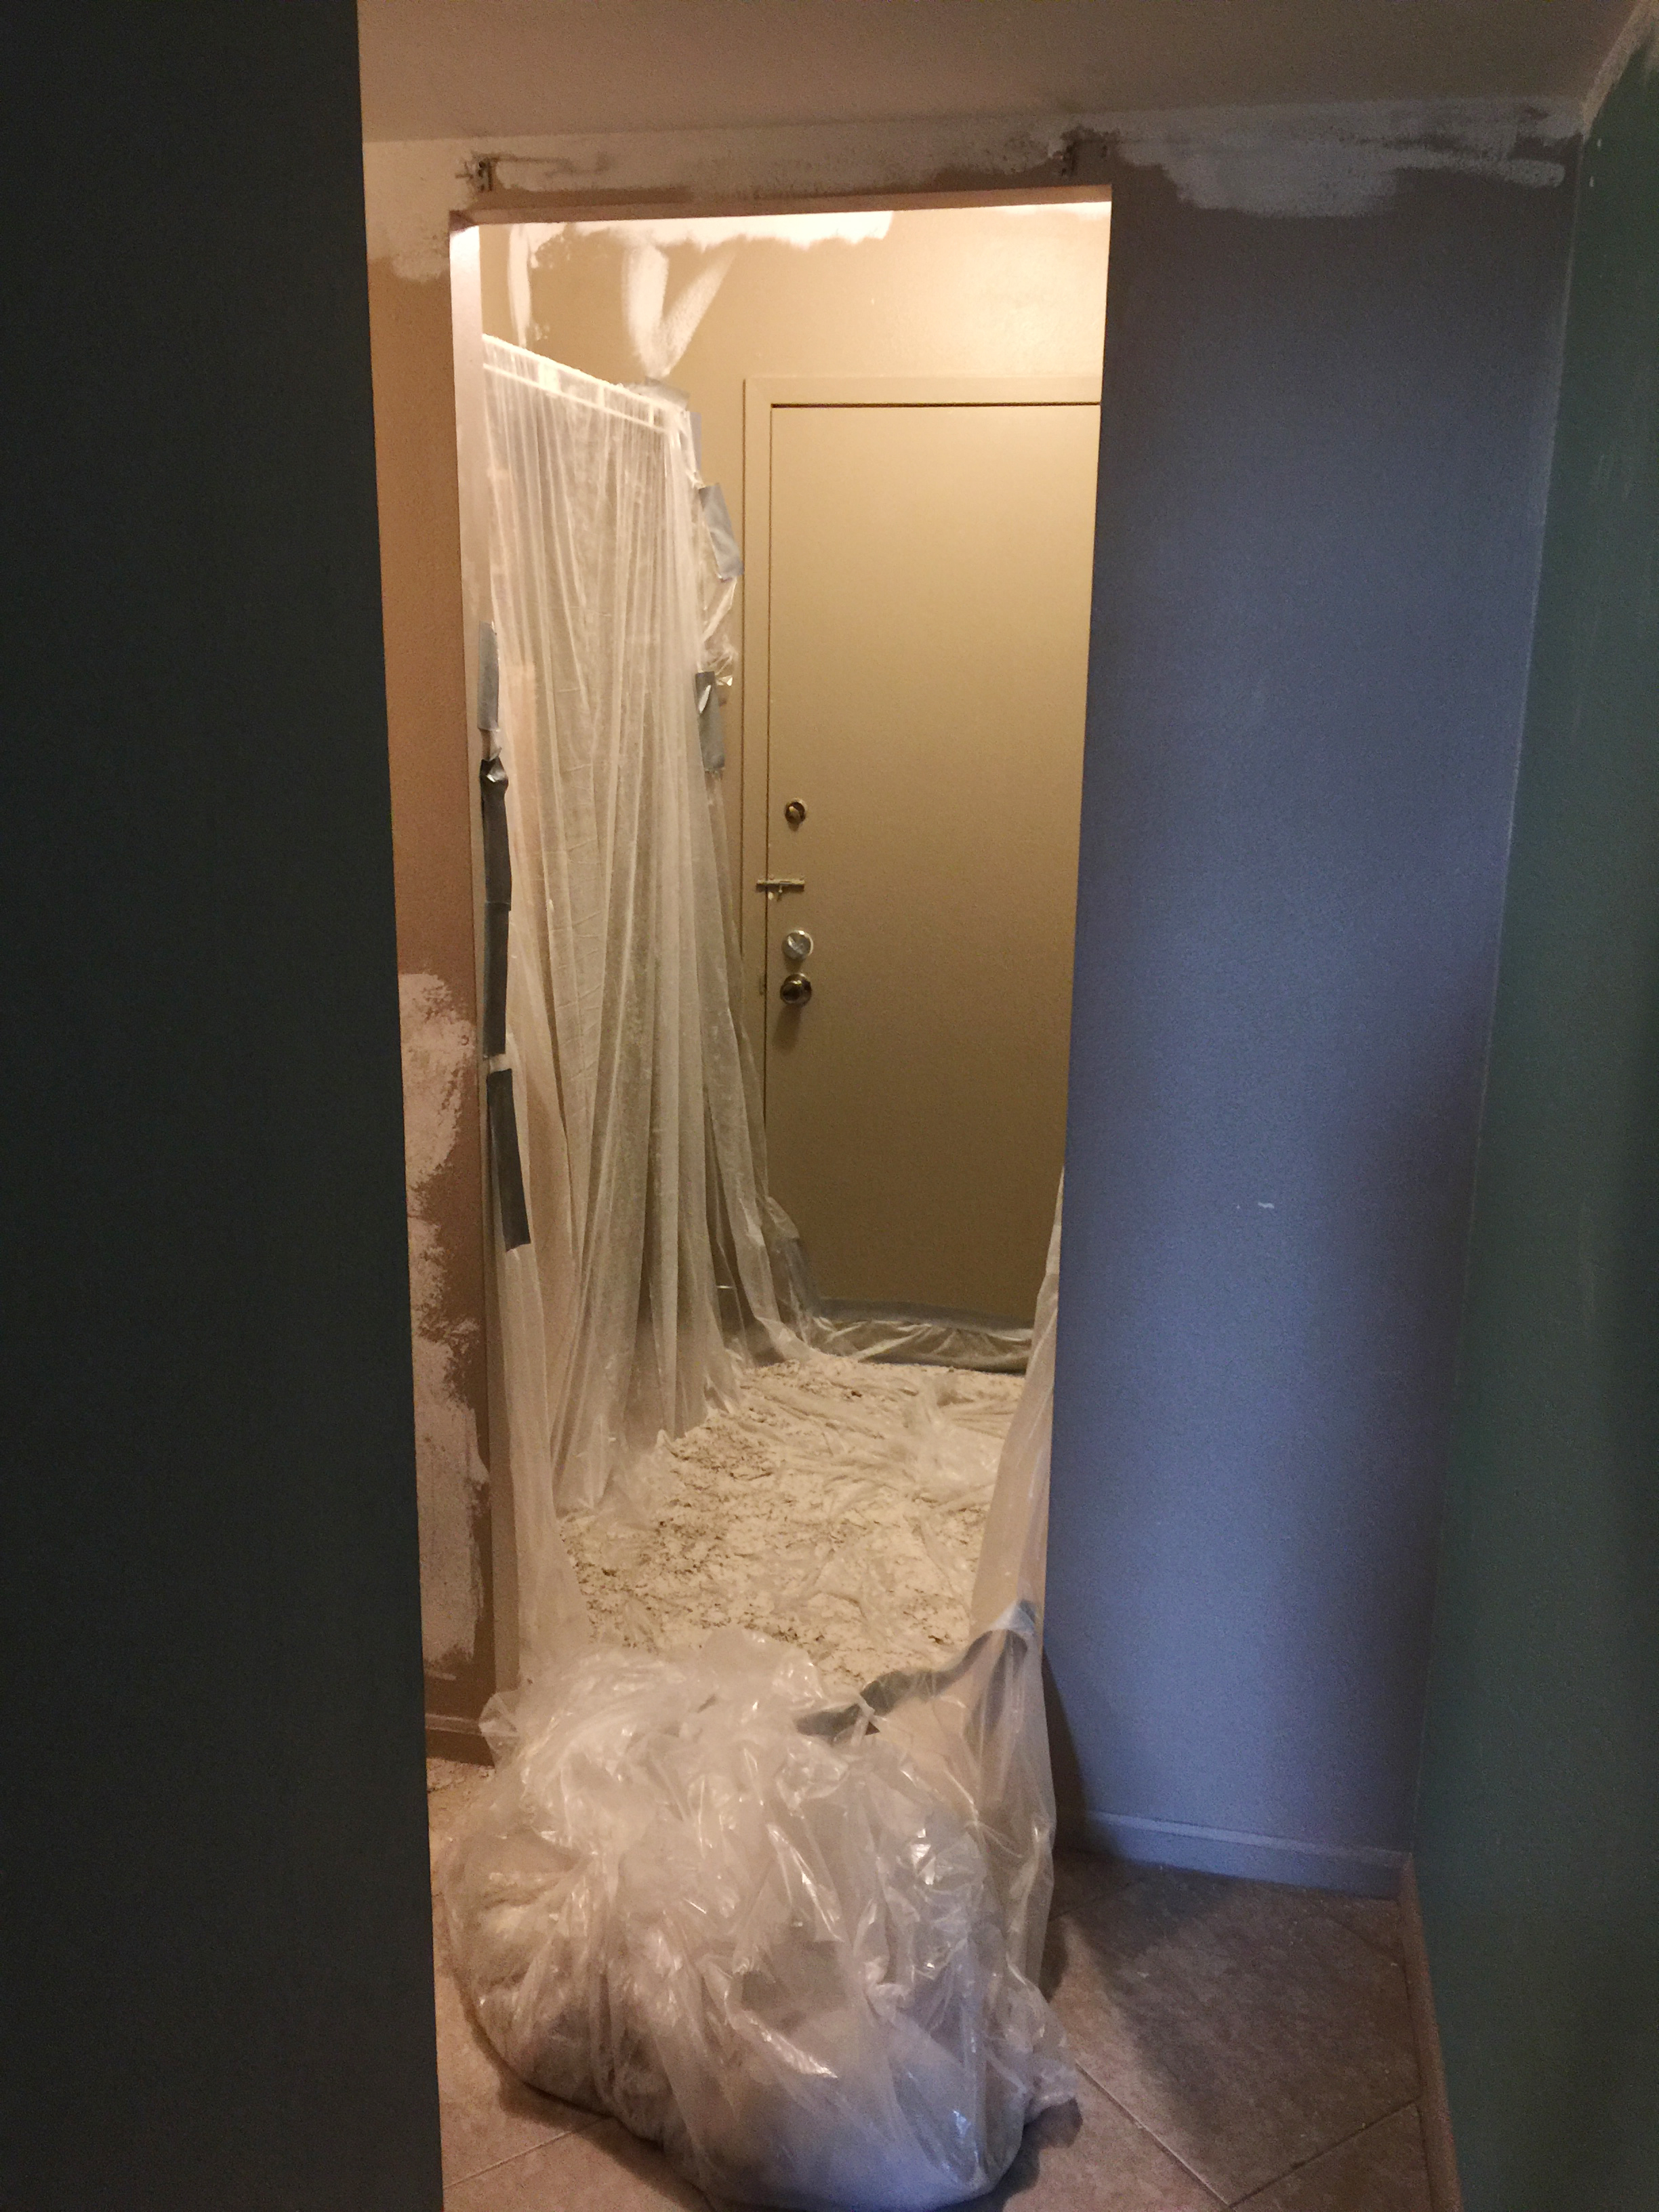
[new shelving, ceiling scraped, but not patched or painted]
I grabbed one of the pressure water sprayers in the gardening department, along with drop cloths, a scraper, and some spackling to help smooth over any rough spots that were left. Once we had a fairly good sized space cleared, we decided that I would get started on the patching and smoothing, while my husband moved on to more soaking clearing. We were able to clear the space we were working in, patch, smooth, and paint it in about five to six hours.
[all of the popcorn plaster from the ceiling on the drop clothes]
We were happy that we chose to go with the duct tape instead of the painters tape to keep the drop cloths in place. Even with the duct tape it started to pull loose in places before we were finished. Plus, we’re already planning to repaint, so that wasn’t a huge issue for us. Oh, we skipped the step in the above instructions to caulk along the wall, instead patching any rough areas with spackle.
[drop cloths carefully rolled with plaster inside]
After we scraped, patched, smoothed, sanded, and painted, we carefully rolled the plaster up in the drop cloths. Of course we still had some sweeping and dusting to do, but it wasn’t bad.
I’m trying to work on getting things painted this week so that we can move forward on installing more shelving this upcoming weekend.
Leave a Reply